Pictures of National Tile and products
Return to: National Tile Home Page
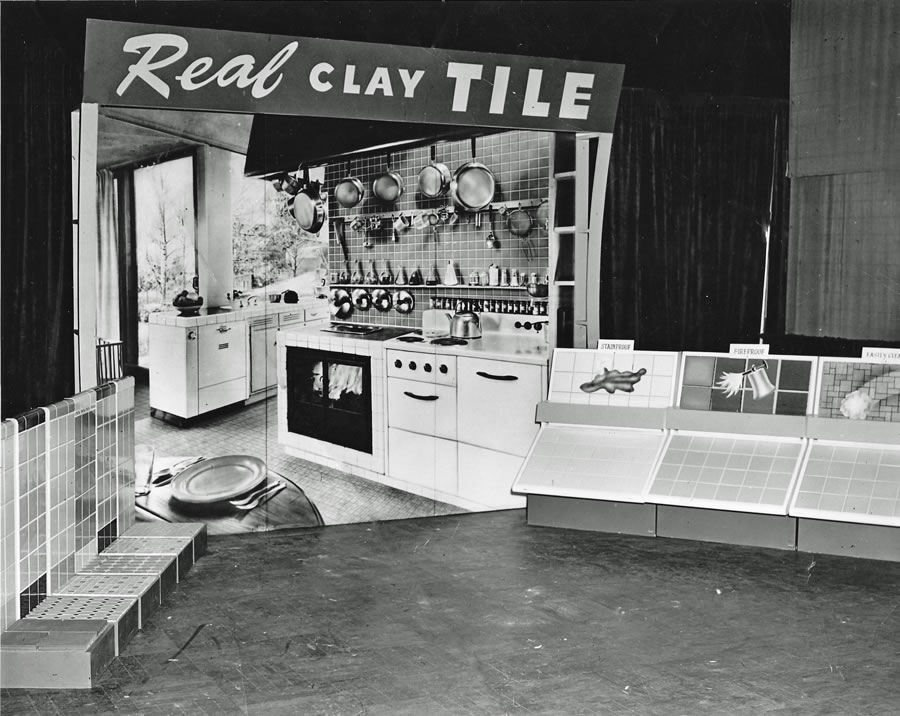
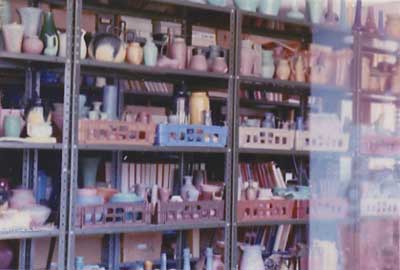
The above picture was taken at a tile show held in New Orleans showing the public the various kinds of tile.
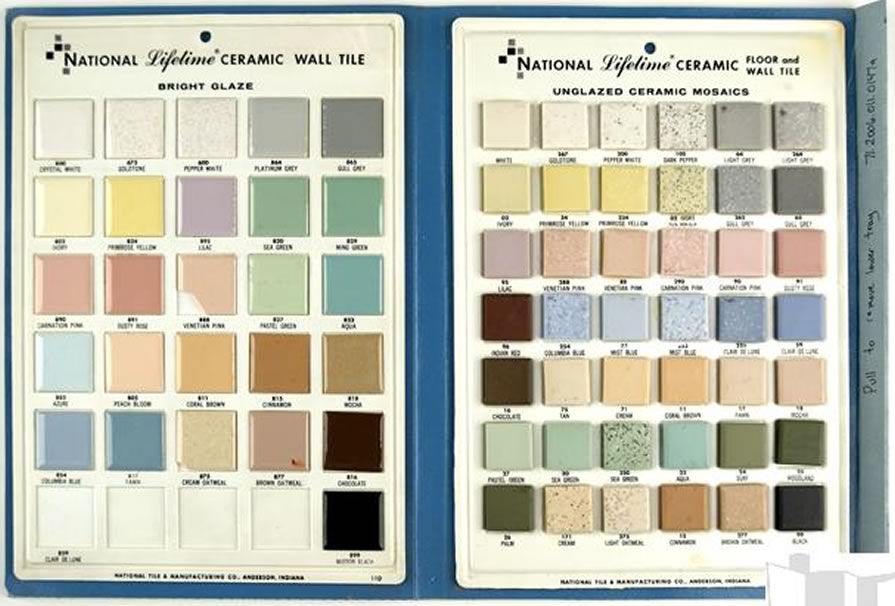
Natioal Tile Company product display case
The above item is located at the
Indiana State Museum
 |
 Courtesy of Madison County Historical Society, Inc. |
 |
The above left picture and
above bottom
right picture pictures were found at the Anderson Library.
This picture was taken approximately November 15, 1948 in front of the new mixer which was put into operation
on September 27, 1948.
From left to right:
R. H. Alexander - President, C. O. Gipson - Chief Mechanical Engineer, R. Y. Lennis - General Superintendent, E. E. Baldauf - Manager
of Production and Ceramic Engineering, H. Lewis - Vice-President and Purchasing Agent, R. A. Towell - Mechanical Engineer, and
R. B. Alexander - Director and Assistant Chief Mechanical Engineer.
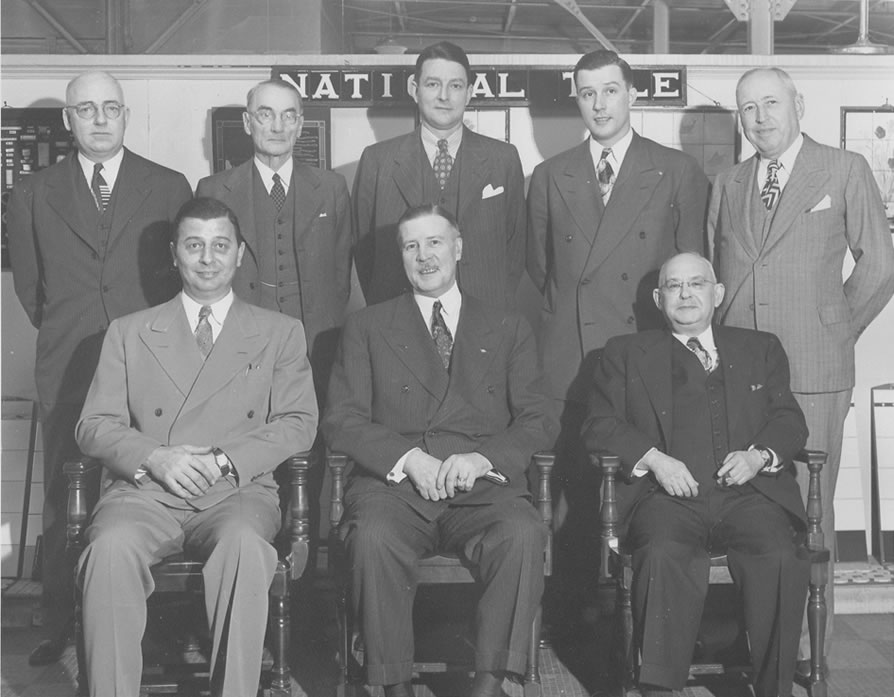
This picture of the Board of Directors of The National Tile and Manufacturing Company, Anderson,
Indiana, was taken November 29, 1948.
Left to right - seated:
R. M. Reydell - Secretary and Treasure, R. H. Alexander - President and Chairman of the Board, Hyman Lewis - Vice president and Member of the Board and Purchasing Agent.
Standing - Left to right:
Neath W. Wilson - Member of the Board - Attorney (Pelton, Wilson and Cleveland), Louis S. Jones - Member of the Board - Past President and owner, Richard C. Field - Member of the Board - Vice President Commercial Trust Company, Jersey City, Richard B. Alexander -Member of the Board and Assistant Chief Mechanical Engineer, Lin Field Myers - Member of the Board - President of Anderson Banking Company.
Mr. Reydell resigned from the Board this date and Mr. Wilson was elected to membership to fill Mr. Reydell's position.
Mr. Reydell remained Secretary and Treasure of the company.
Any information about a picture is from the back of each picture.
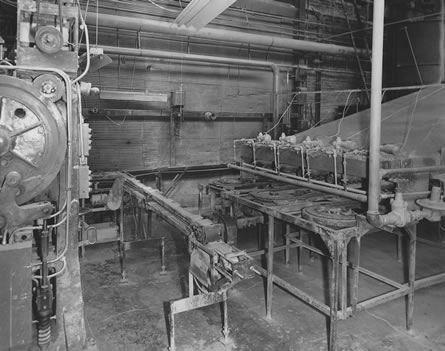
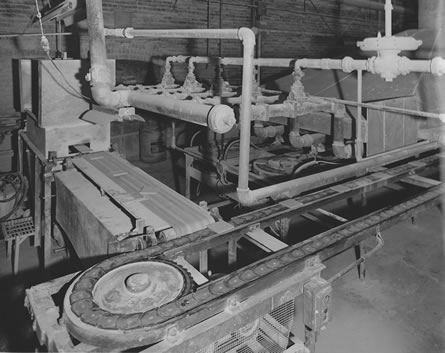
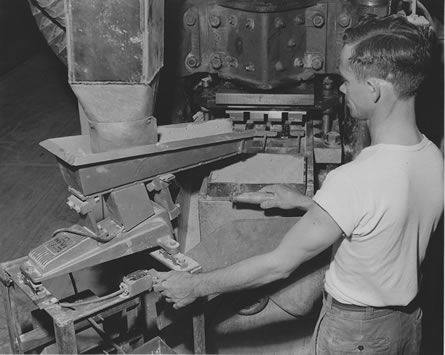
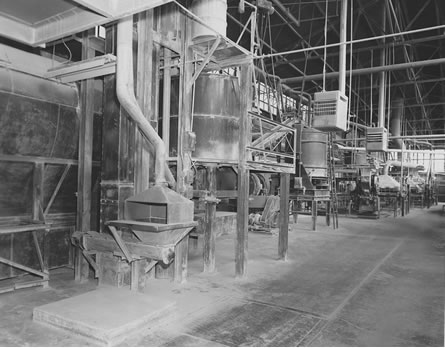 1. Start of process showing charging Hopper and Mixer. Entire length of plant shown. |
 2. Mixer and Conveyor used to move prepared clay batch to storage feeder automatically. |
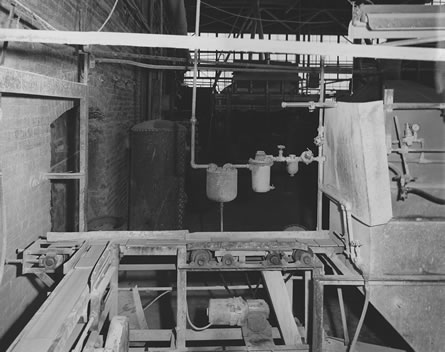
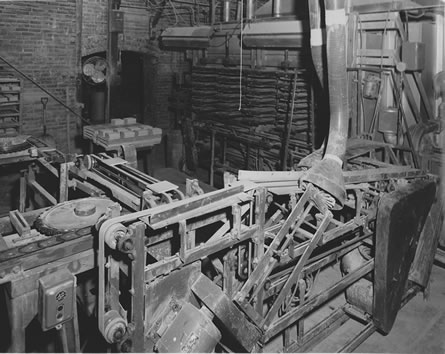
 3. Storage-feeder and Granulator. |
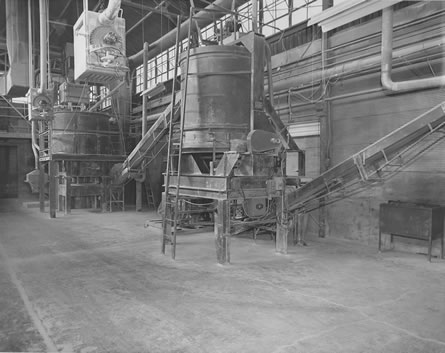 4. Mixer (left) and Storage-feeder. Conveyor moves granulated clay to process automatically. |
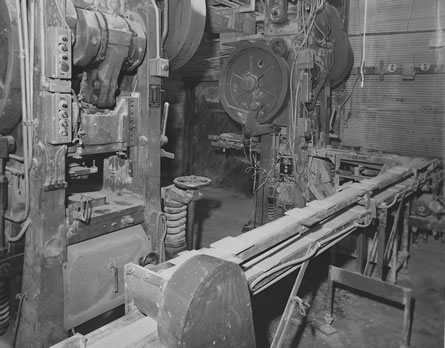
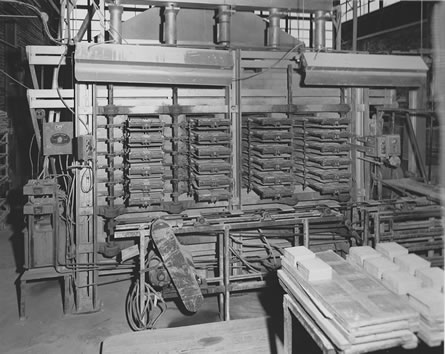
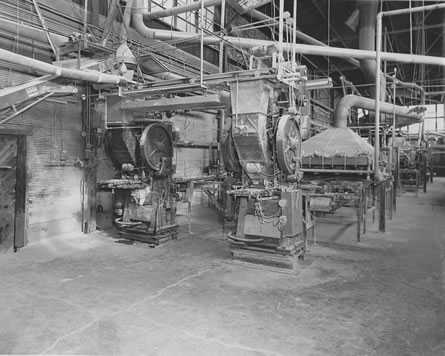 5. Rear of presses (one operates, one is a "stand-by".) |
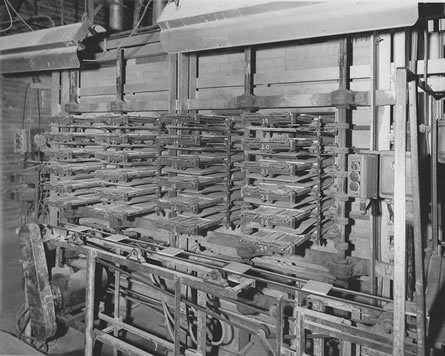
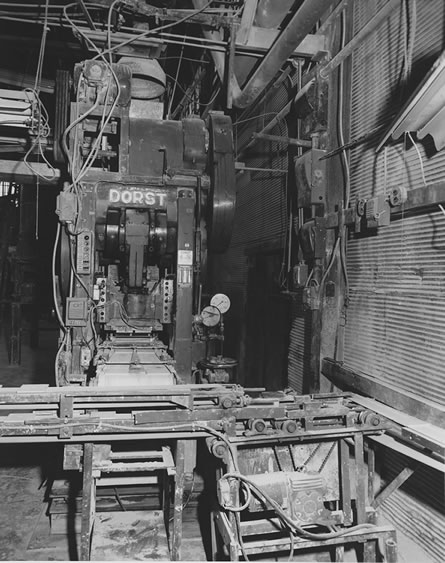 6. Front of press showing conveyor to remove tile from press. |
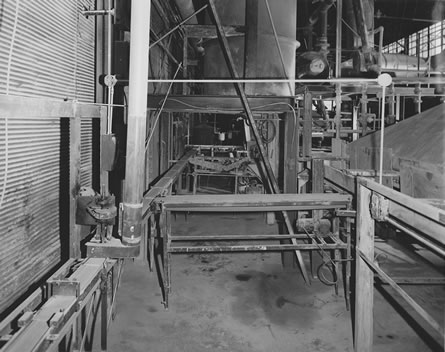
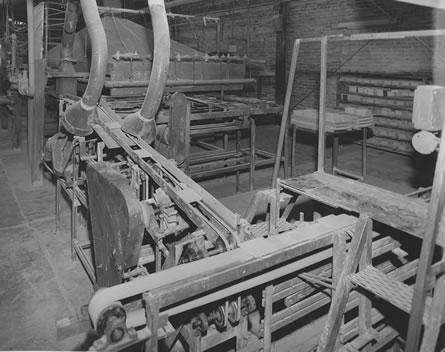
 7. Conveyor used to turn tiles over automatically. |
 8. Conveyor used to turn tiles over. Note tiles on top belt are upside down (as they come from press). Tiles on lower belt are right side up. |
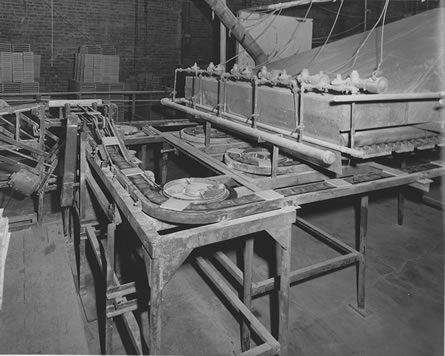
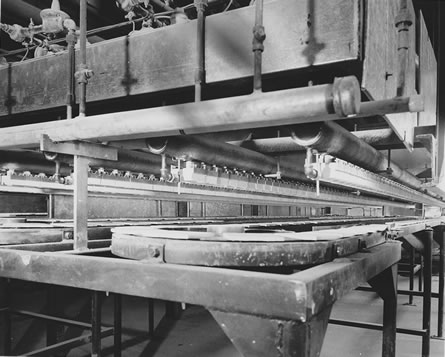
 9. Tiles moving to spray machine. (Dryer at left for special purpose) |
 10. Tiles moving into spray machine for glaze application. Note tiles group together automatically as they enter spray machine. |
 11. Glazed tiles emerging from spray machine. Note tiles "spread out" automatically and are rotated 90 degrees. |
 12. Dryer removes moisture then tiles are automatically removed from the dryer. |
 13. Tile edges are brushed automatically. |
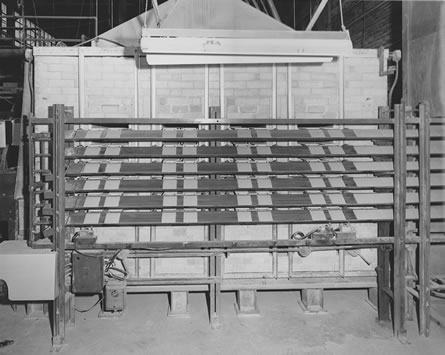
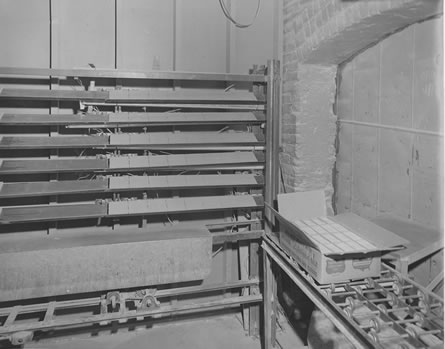
 14. Tiles are automatically moved to entrance end of kiln. |
 15. Tiles are inspected and placed in proper location to be automatically moved through the kiln. |
 16. Tiles are inspected and placed in proper lacation to be automatically moved through the kiln. |
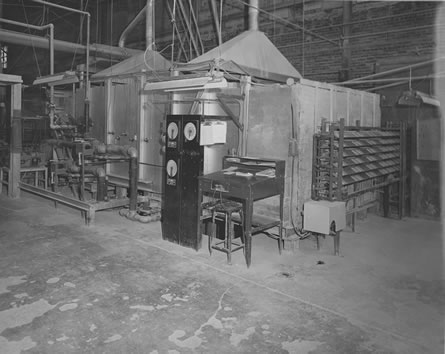 17. The complete kiln, automatic controls and discharge end. |
 18. Finished tiles automatically discharged from kiln and ready to automatically be moved into the packing room. |
 19. Tiles automatically placed in position for inspection and packing. |
 No Information.
 |
 No Information.
 |
 No Information.
 |
 No Information.
 |
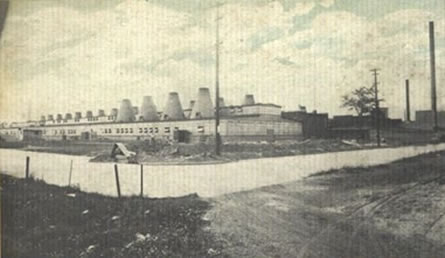 Picture postcard
 |